|
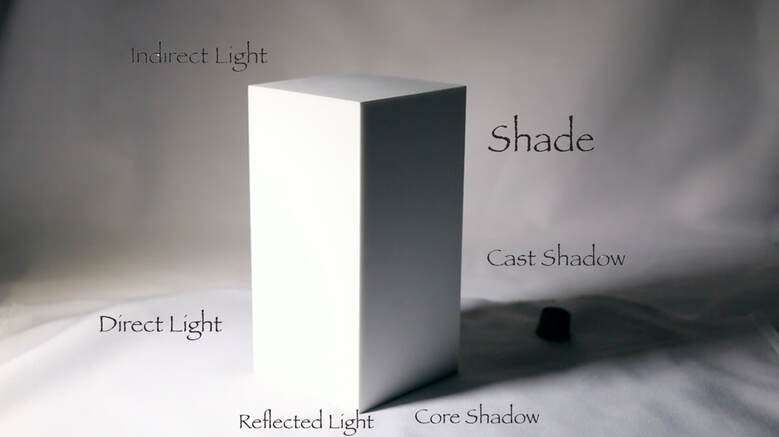
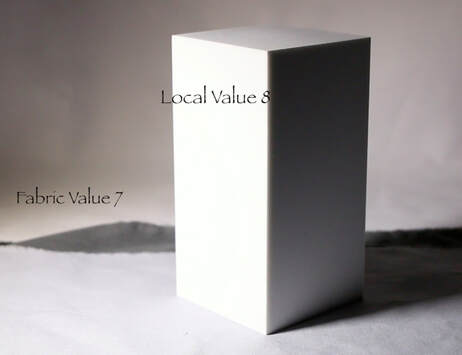
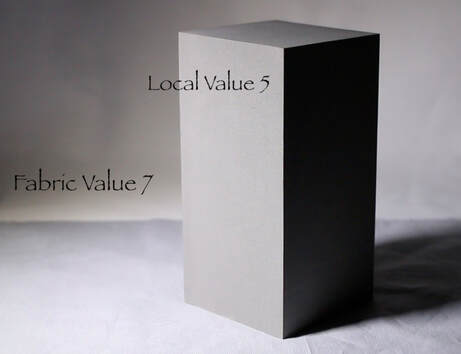
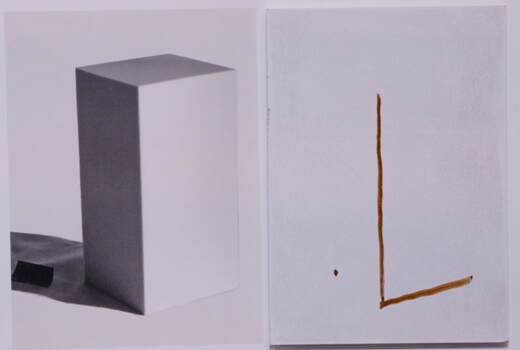
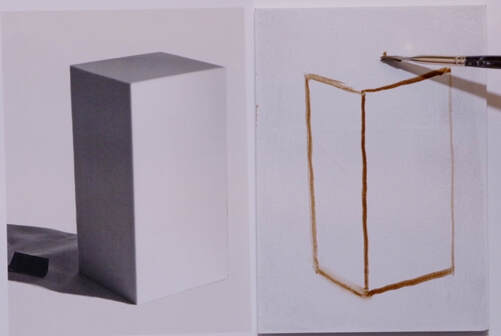
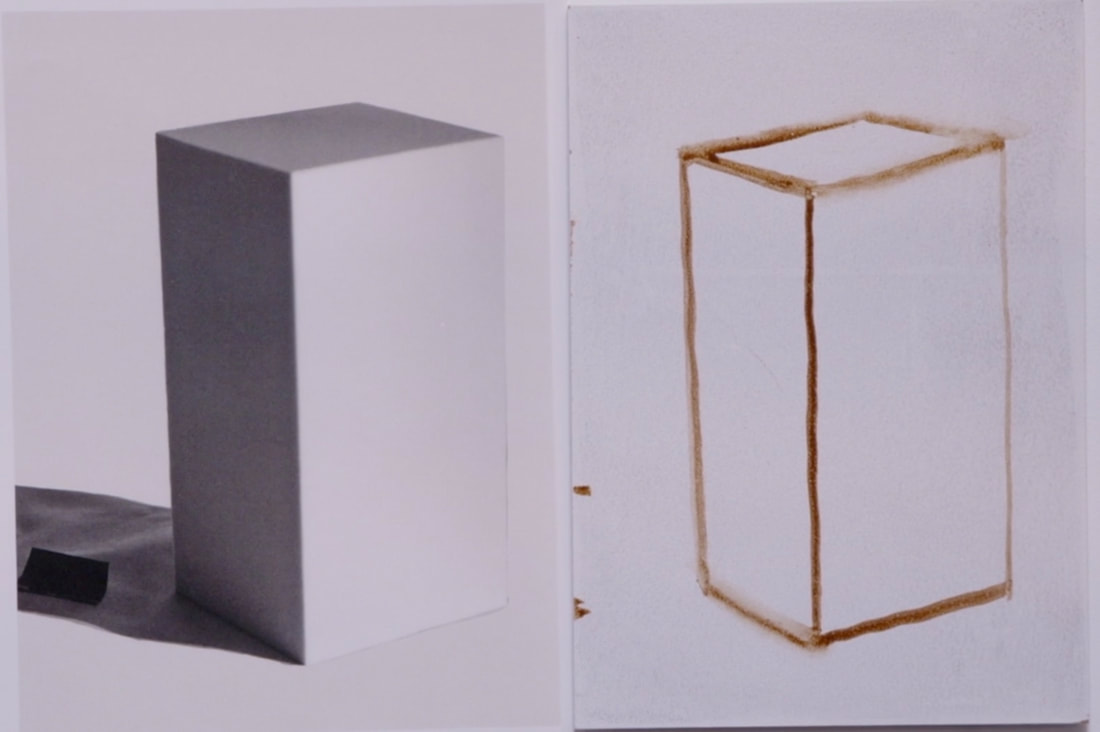
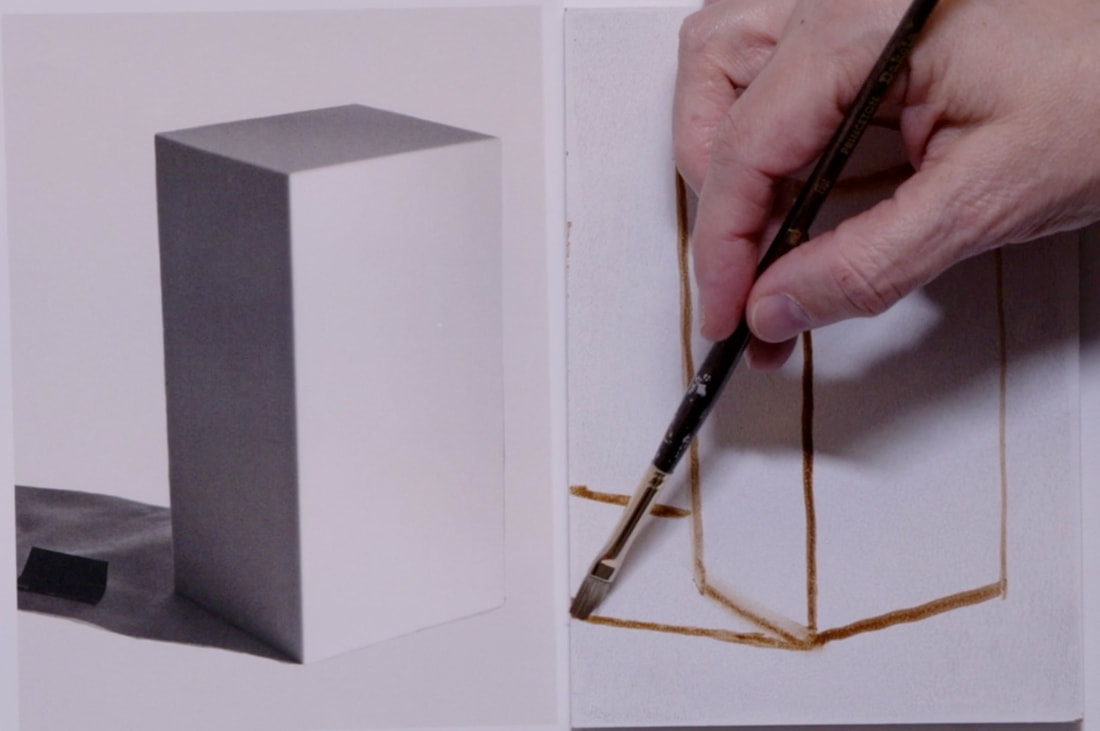
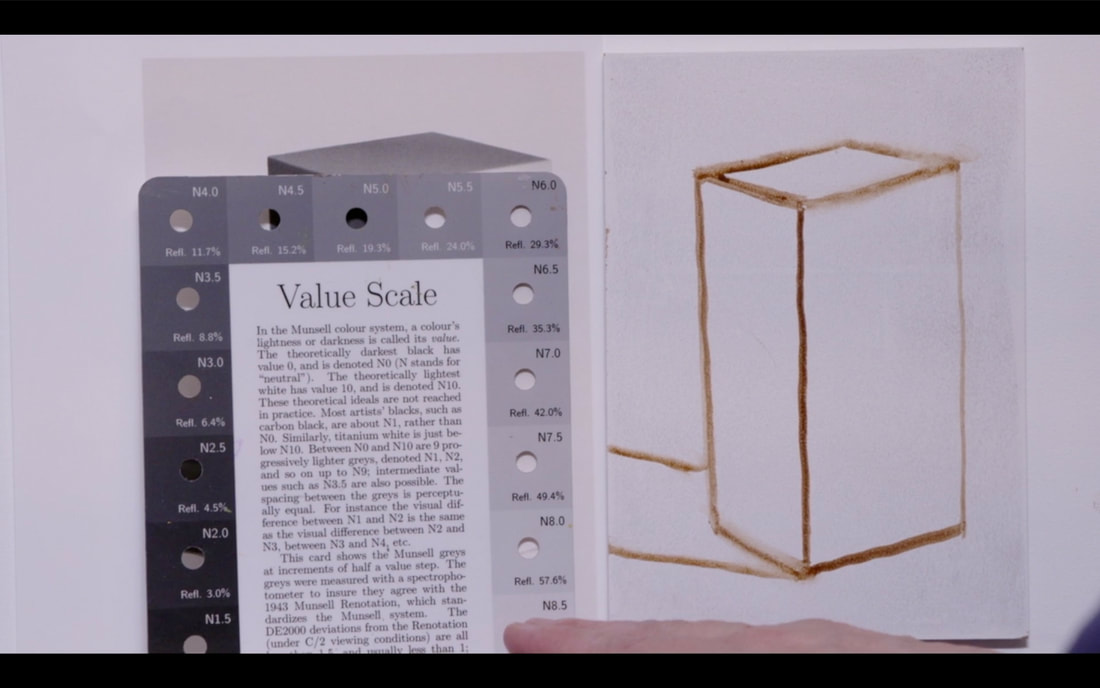
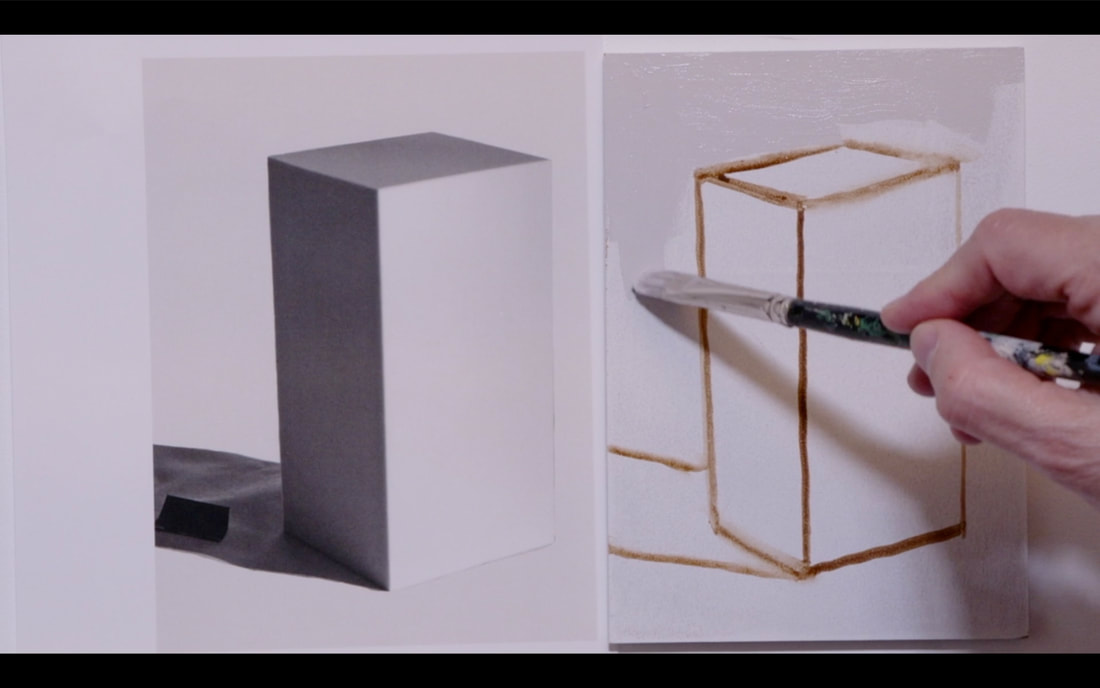
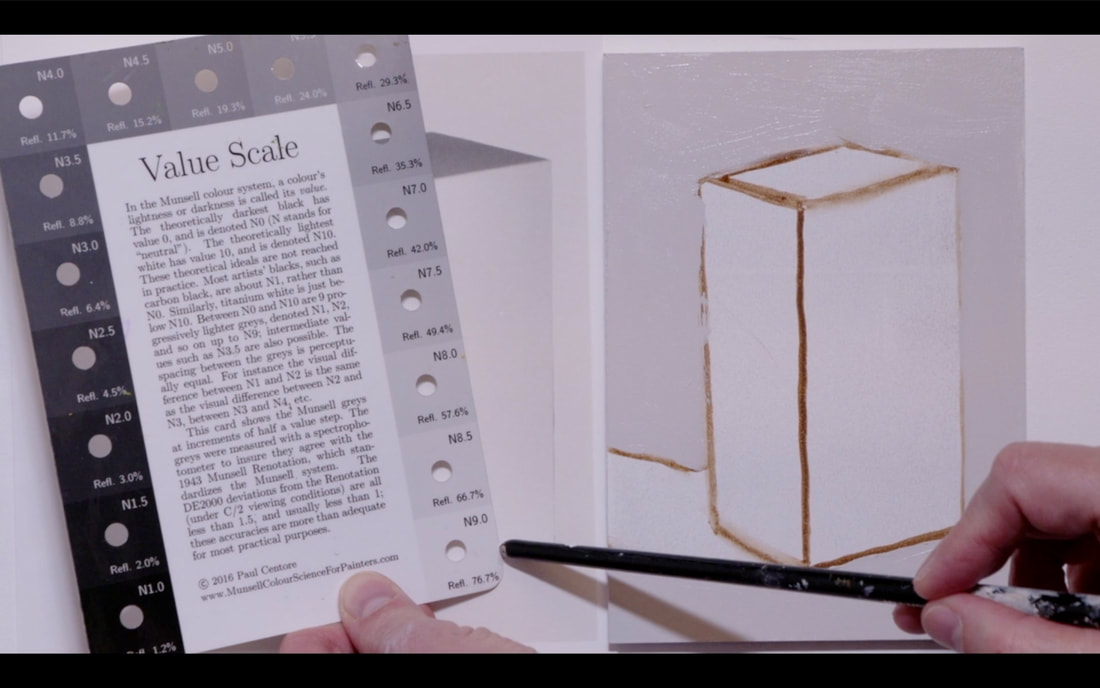
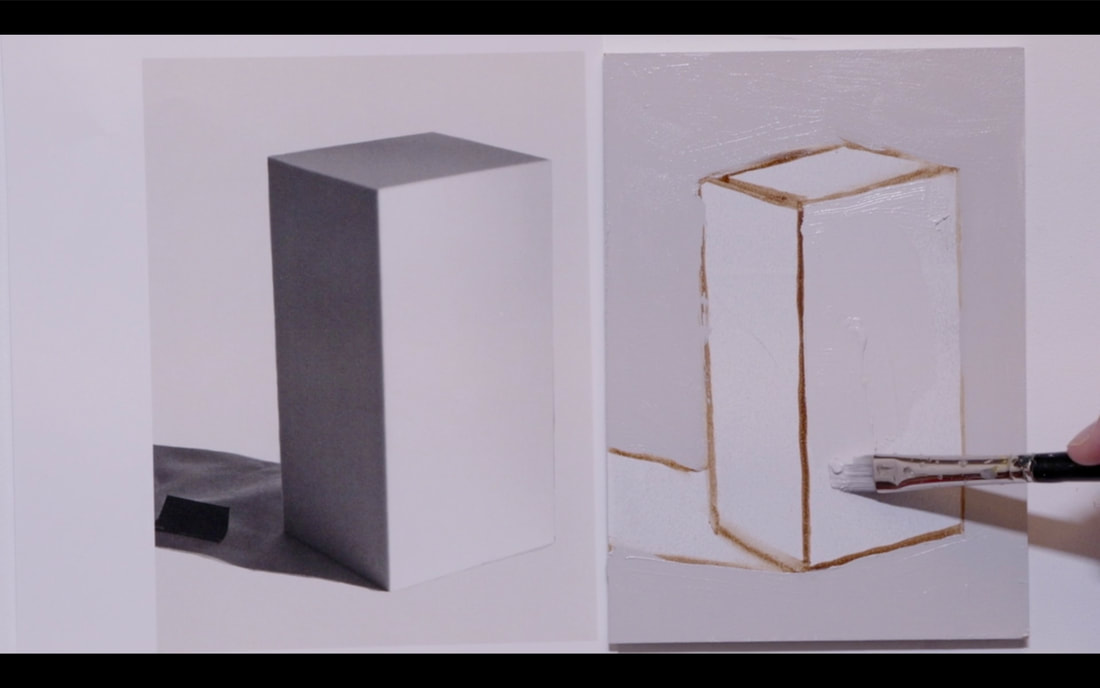
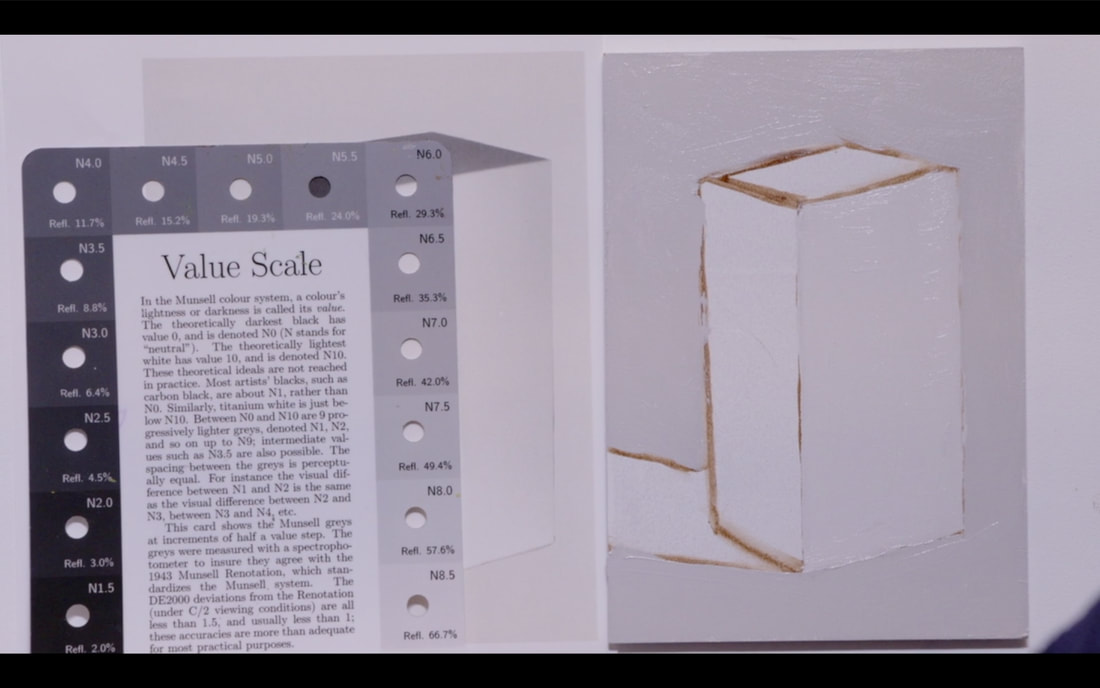
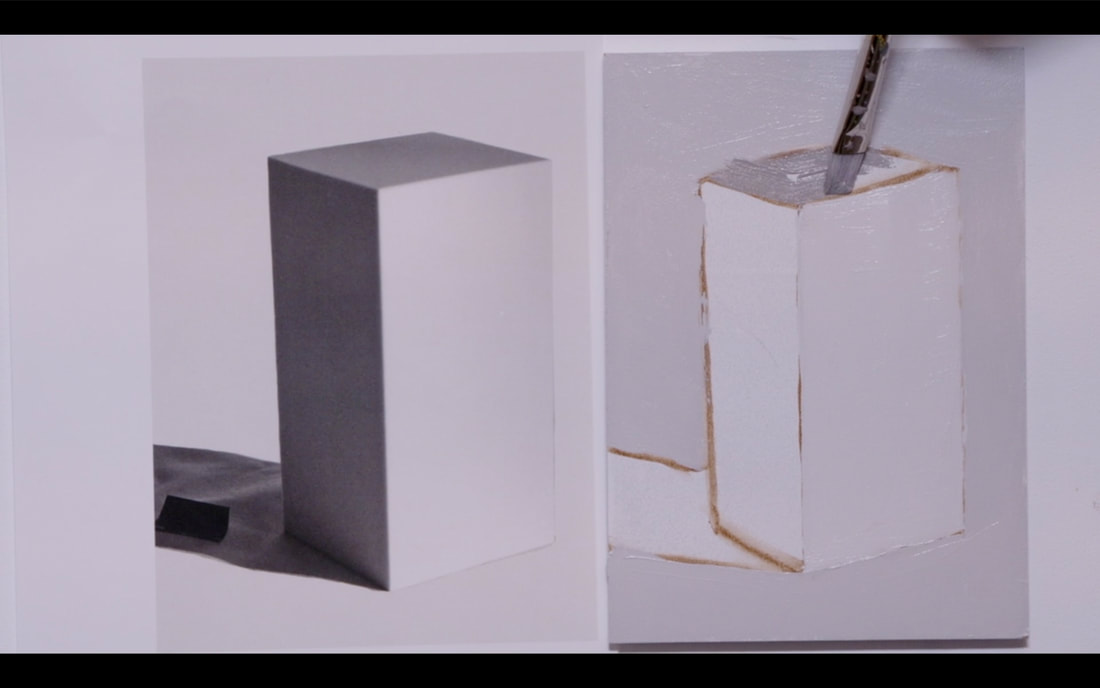
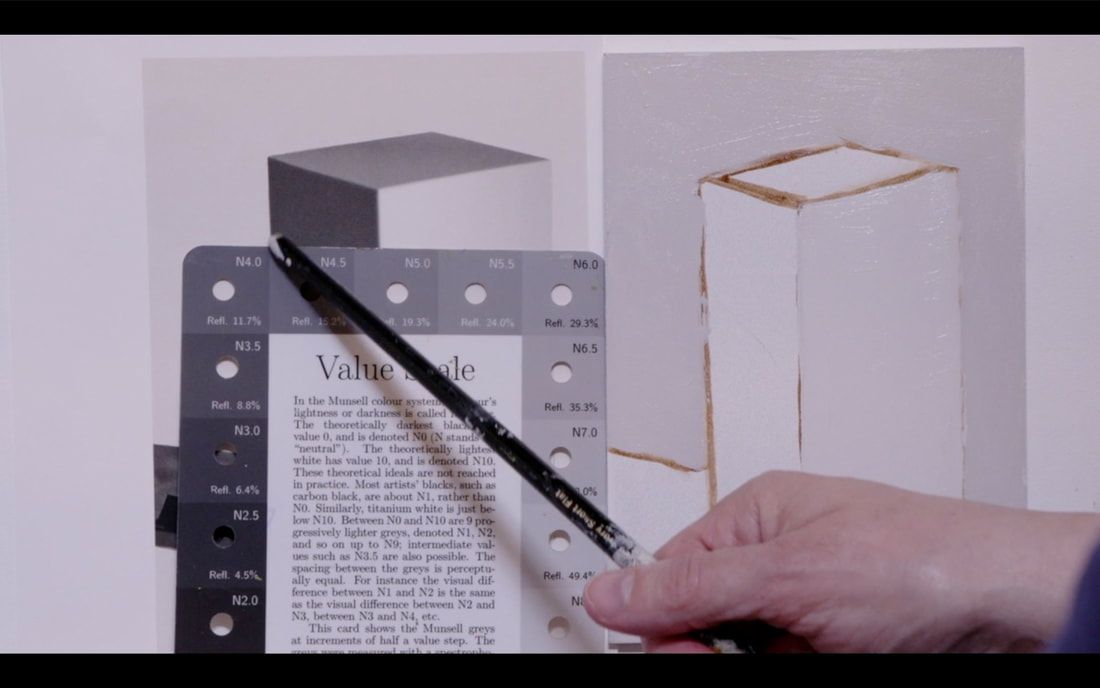
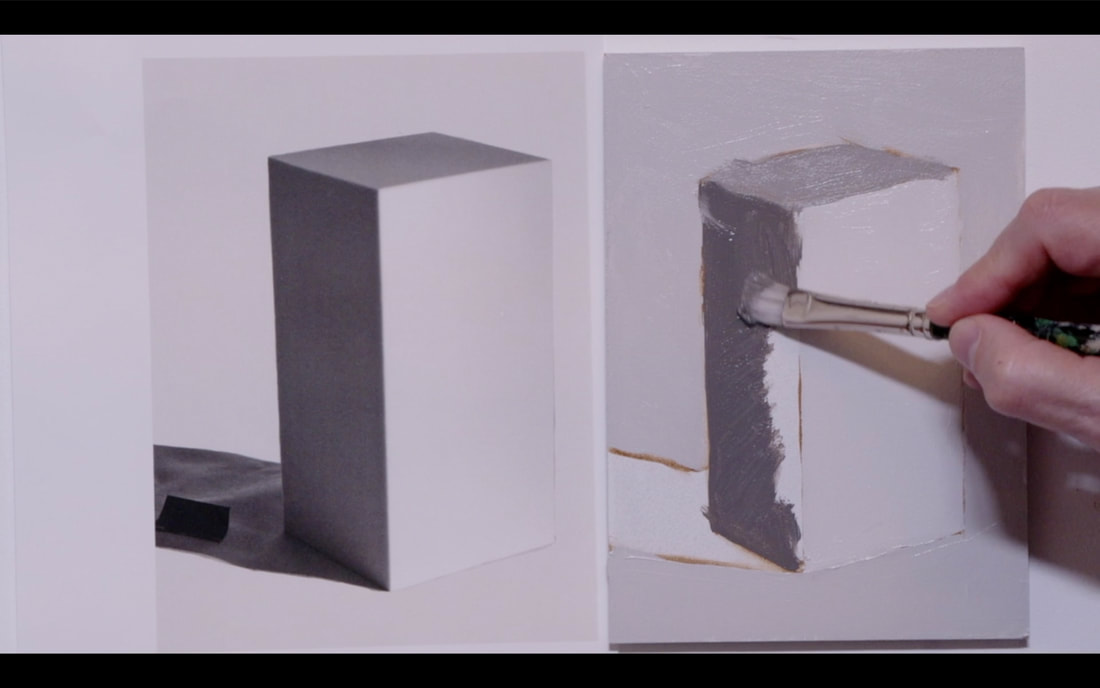
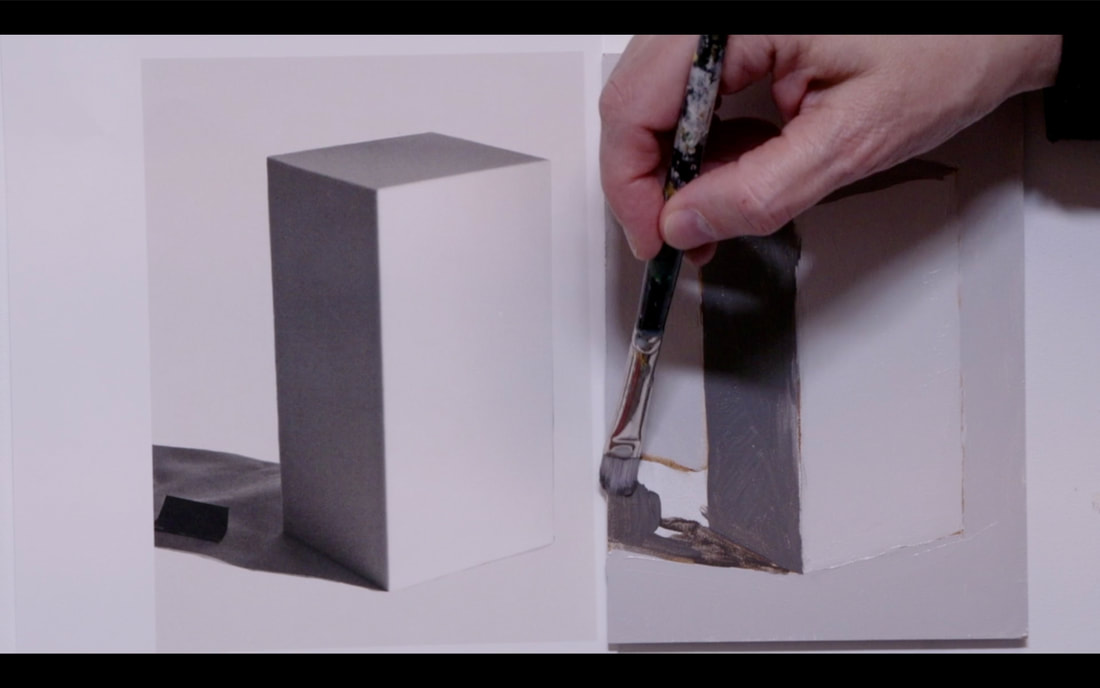
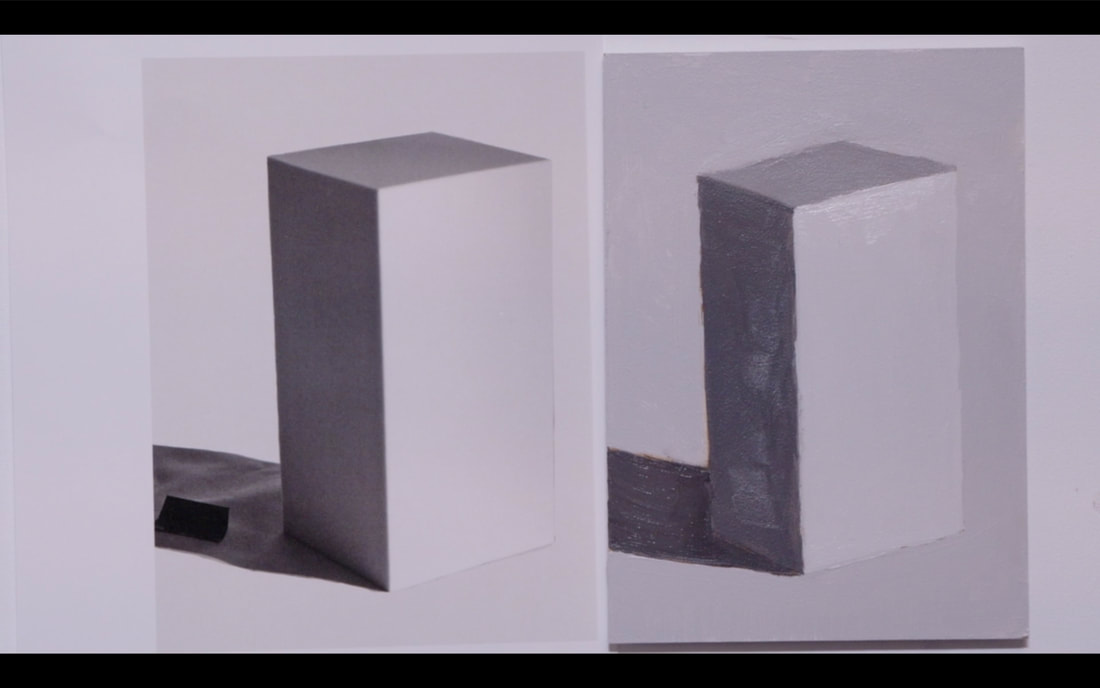
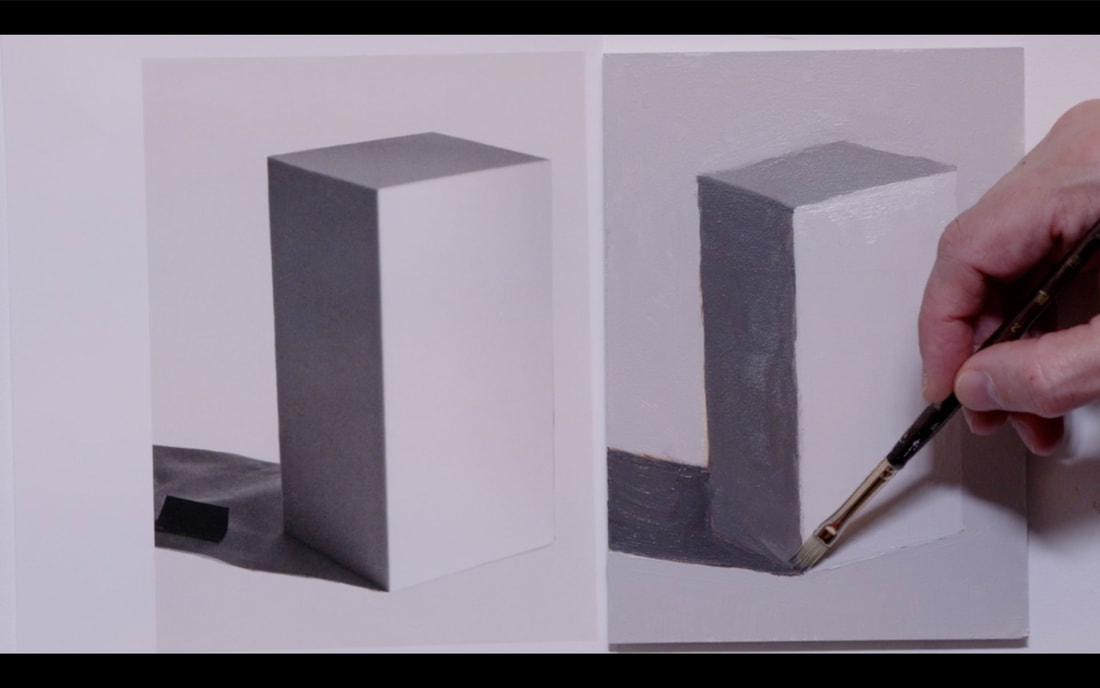
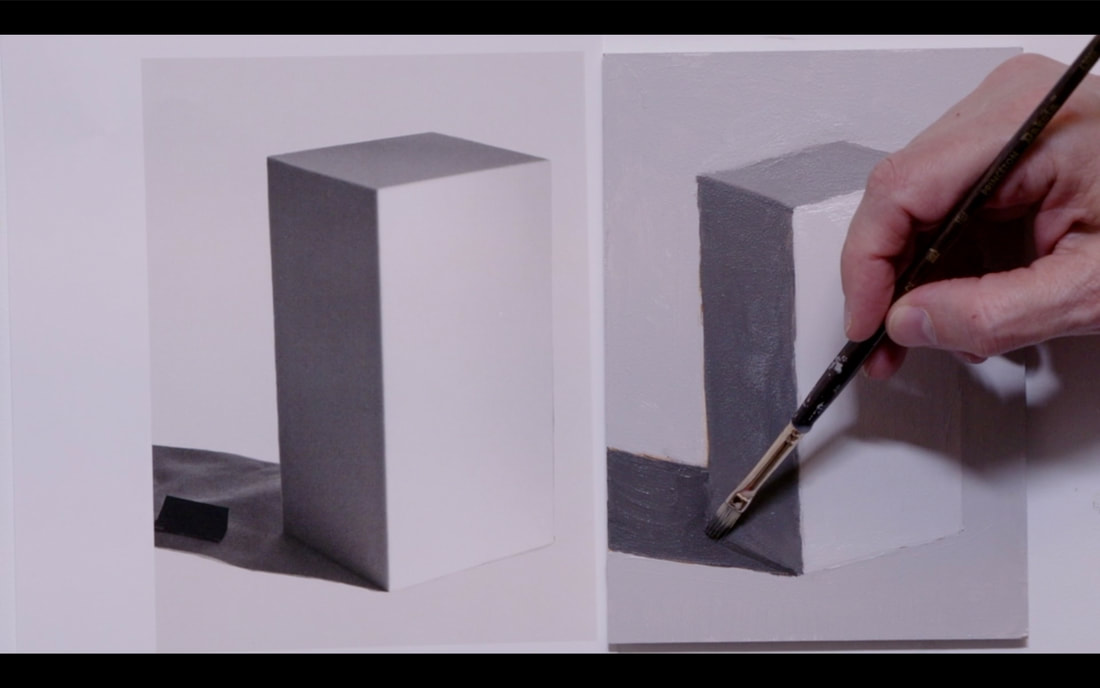
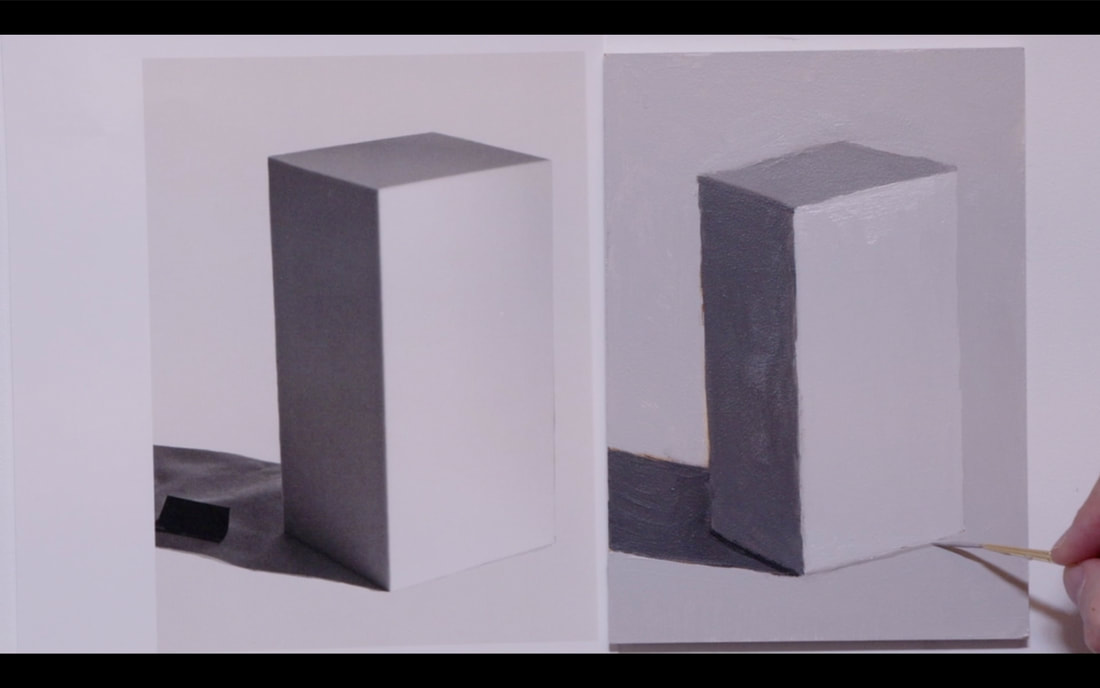
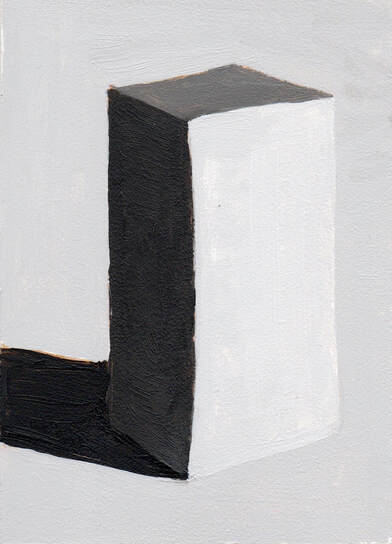
This video is in 3 parts. Part 1 We look at a rectangular object with 90 degree angles and very distinct planes and the descriptive language we will use Part 2 We explore how a change of value on the ground impacts the light reflecting back into the object. We will be using two rectangles with different Local Values. Part 3 is Drawing and painting the rectangle from the image you can download image HERE PART ONE - Light on rectangle object. In this part we are going to learn the terms that we use to describe various planes of the object and how the light interacts or doesn’t interact. Notice we have an object with 4 distinct planes. Only three planes are visible. We see the Front Plane, the Right-Side Plane and the Top Plane. If we were outside, the Direct Light would be from the Sun, the Indirect Light would be the light bouncing back from the sky. Now on to the Right-Side plane which is the Shade area of the object and we have Reflected Light in the right-side plane as the light bounces from the ground back up into the Shade side Next the object is in the way of the light source creating a Cast Shadow. The Cast Shadow can be changed with the direction of the light changing. Longer Cast Shadow if the light is very low, and a much shorter one if the light is much higher or directly overhead. You may well notice that the Shade side is darker at the top and lighter as it goes down into the reflected light area. I took the opportunity to place a black object directly into the cast shadow. I did that so that you will understand that Cast Shadows are rarely fully black. As a new painter I would make my cast shadows far darker than they were. Also, if you use a photograph (as we shall be doing), you will find that the camera makes the shadows much darker than our eyes would see. It is a direct result of the cameras inability to handle both aspects light and shadow correctly at the same time. If you are ever in doubt about the value of the Cast Shadow place something black into the area before you photograph it, using your handy dandy Munsell Accurate Value Scale for Artists to get a correct reading of the Cast Shadow. Remember to write down the value some place so you remember it later. The darkest part of the whole painting is in the core shadow that connects the object to the table on the Shade side. This small area is important to paint because it anchors the object to the ground it is on. PART TWO - Changing of ground and how it impacts reflected light distribution In this part we are going to look at how the reflected light area of the Shade side changes as the values that the object is standing on are changed. The Local Value of the object is Value 8. I will change the ground value from Value 10 (white), to Value 7, to Value 5, then to Value 0 (black). Local Value of the object is Value 8. We are focusing our attention on the reflected light area in As we go through you will notice that the reflected light has become less and less bright until it totally disappears when the ground is Value 0. Let’s do this same exercise but now the rectangle object will have Local Value of 5. When I was doing this demonstration, I could see just a touch of Reflected Light happening on the Value 5 ground. Sadly, the camera is not that sensitive, and you are unable to see that. As we move to Value 7 you can see the reflected light really starting to appear on the Shade plane, with the Value 0 ground creating the brightest Reflected Light. PART THREE - Painting the Rectangle object. Using Raw Umber I begin to draw the rectangle. I spend a lot of time backing up away from the easel to look at both the image and the board from a distance. Then I step forward to put a reference point where I think the corner is. I step away again to confirm that it is correct, then move forward to make changes if I need to. When we go to put the reference point on the top plane it is far too easy to have it tipped up and looking wrong. In our mind we know that the Top Plane is a square shape but in reality we are dealing with perspective. Move forward place a reference point, then step back to confirm that it is in the correct place. It may need to move a little to the right or left or a little down or up. Take your time on this part of the drawing. It is key to having your rectangle look correct The top is so important. Take your time to get those angles as correct as possible. Then we are on to the Cast Shadow. See that I have put reference points on the side of the board then I draw from those points to the object. ROTATE THE BOARD AS YOU NEED TO WHEN YOU PAINT. It makes it so much easier to get the edges straight. :) Now to choose the value of the background. I see that it could be an 8.5 but for simplicity I chose Value 8. On to the Front Plane that is in Direct Light. It is definitely a Value 9! Now we are figuring out the Top Plane value which I saw as Value 6. Photos do darken the values. On to the Left Side Plane which is in Shade. I chose a Value 4 for that side. Place the Cast Shadow in. Value 3 is what I chose. I did a second layer over the whole painting which gets us to the image below on the right side. The final parts of the painting: Reflected Light painting into the Left Side Plane Core Shadow under the Left Side Plane to anchor the object to the ground A very thin light under the Front Plane again to give it the illusion that the object is one the ground. Ta Da...The final painting! A reminder... YOU CAN ROTATE YOUR PAINTING AS YOU NEED TO. My lines are not straight because I was doing a video and I couldn't rotate the image.
0 Comments
Your comment will be posted after it is approved.
Leave a Reply. |
Shawna Lampi-LegareeShawna is capturing moments of beauty from the world around her. Archives
June 2023
Categories
All
Mailing List
To receive an update about new paintings, workshops and other art related news, subscribe to my mailing list below. You can unsubscribe at any time. |
